Upgrading FreeNAS from 8.3.1 and newer using the GUI upgrade method has worked for me twice so far without any issues. Here’s how to do it.
- Head over to the FreeNAS site and download the most recent (9.1.1 as of today) GUI upgrade file. Make sure to copy the SHA hash as you will need this later!
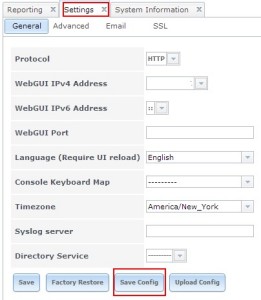
- Log into your FreeNAS console and select Settings and from the General menu select Save Config. This will save your current config file to your local machine.
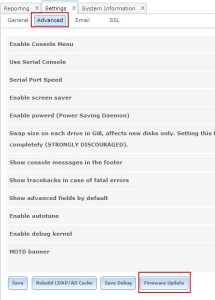
- Select the Advanced menu and click on Firmware Update.
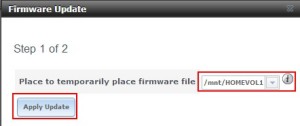
- On step 1 of the firmware update procedure you have an option of where to temporarily place the firmware file. I chose the main volume. Make your selection and hit Apply Update.
- On step 2 of the firmware update procedure select Choose File and browse to the location where you downloaded the GUI upgrade file from earlier. The second input is for putting the SHA256 hash you saved earlier. (If hash does not match the upgrade will not proceed and an error will notify you). Select Apply Update.
The update procedure has another window with a progress bar of sorts that at least lets you know it’s doing something. You need to be patient here, it took a good couple of minutes to see anything. If you’re worried you can see activity on your NAS if you have a display hooked up to it. When the procedure is done it will reboot the NAS and you’re done.


