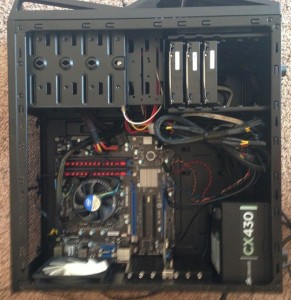
So I embarked on the journey of building a NAS for my home lab. The purpose of this storage solution was to run VM’s and store backups from a few PC’s in my home. The build consisted of the following:
- 3 x 2TB Seagate Barracuda 7200RPM HDD’s
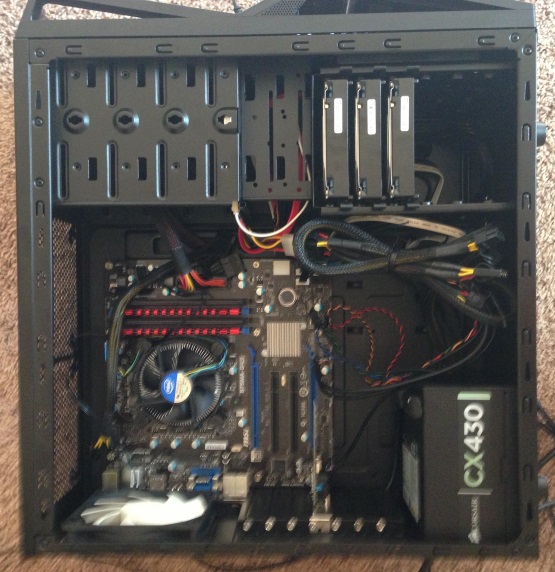
- Corsair CX430 Power Supply (80 plus)
- NZXT Gamma Mid tower case
- MSI B75MA-G43 Motherboard
- Intel Celeron G1610
- 8GB (2 x 4GB) Corsair Vengence DDR3
- 4GB (2 x 2GB) G.Skill Ripjaws
- Intel 313 20GB SSD
- Crucial v4 64GB SSD
- ADATA 8GB USB3 Thumbdrive
- Syba PEX24033 PCI-e Dual port Gigabit ethernet
I decided to use FreeNAS 9.1.0 on this build. The FreeNAS interface is pretty good and there is a strong community behind it. FreeNAS can be ran from a USB drive which is how my NAS is currently ran. The 3 2TB HDD’s make up the main storage pool using ZFS in a RAIDZ array. A RAIDZ array is similar to RAID5. The Intel 313 20GB SSD is used for the ZIL, otherwise know as the ZFS Intent Log which when put on a separate device is known as the SLOG or separate intent log. The ZIL is primarily write intensive so its important to have a device that accommodates a lot of writes and is fast enough to receive those writes. The second SSD is used for L2ARC which is a read cache between the RAM (ARC) and your storage pool. There’s quite a bit of knowledge out there about these and I implore you to read up about them and decide if its right for you.
When this build is up and running it uses about 50-60 watts which met my needs for a decent storage location that didn’t use a lot of power. The Intel Celeron G1610 helped a lot with this. This Celeron G1610 was released this year and is based on the Ivy Bridge architecture. It was using this or an Atom processor and I chose the Celeron so it would give the NAS some uumph. The performance of this processor compared to the value of its price is awesome.
My first mistake with this build was only using 4GB of ram. ZFS will disable pre-fetching unless you have more than 4GB. Use more than 4GB! My second mistake was only have 1 on-board NIC. The dual port card was an extra purchase and helped when using it with ESXi and multiple datastores. If you are just using your NAS for basic storage you may be able to get away with just 1 NIC.
Now I have to vent about the power supply. I’ll be on my 3rd Corsair CX430 power supply in about 2 weeks. I have to applaud Corsair for their easy warranty returns but having 2 of these go bad just sucks. If this 3rd one goes bad I’ll probably return it for another brand or perhaps take a closer look at the other parts in my build to make sure nothing else could be causing the issue.